Study Guide
ASE B2 Study Guide: Painting and Refinishing
55 scored questions, 90 minutes, 6 content areas. Here is what to study and in what order.
ASE B2 at a Glance
The ASE B2 Painting and Refinishing test is one of five ASE collision repair and refinish certification tests. It has 55 scored questions plus 10 unscored research questions (65 in all), a 90-minute time limit, and is taken on a computer at a Prometric test center. Every question is multiple choice with four answers and one correct answer.
The scored questions are split across 6 content areas:
- Surface Preparation: 15 questions
- Spray Gun Operation and Related Equipment: 6 questions
- Paint Mixing, Matching, and Applying: 15 questions
- Solving Paint Application Problems: 8 questions
- Finish Defects, Causes, and Cures: 6 questions
- Safety Precautions: 5 questions
Passing ASE B2, B3, B4 and B5 earns ASE Master Collision Repair and Refinish Technician status.
Certification is renewed every five years with a shorter recertification test. Check ase.com for current registration and fees. ASECollisionTestPrep.com is an independent study resource and is not affiliated with ASE.
Start Here
The ASE B2 Painting and Refinishing test is 55 scored questions in 90 minutes, and more than half of them sit in two content areas: Surface Preparation and Paint Mixing, Matching, and Applying. The test does not ask how you spray; it asks what the technical data sheet and the OEM procedure say, and a painter who answers from shop habit loses the questions where the two differ.
This guide walks the six content areas in the order ASE weights them, names the task behind each question type, lists the terms the questions use, and ends with a 30-day plan built around the weighting.
Where the 55 scored questions come from
- A. Surface Preparation1527%
- B. Spray Gun Operation and Related Equipment611%
- C. Paint Mixing, Matching, and Applying1527%
- D. Solving Paint Application Problems815%
- E. Finish Defects, Causes, and Cures611%
- F. Safety Precautions59%
Why technicians fail this test
- Answering from habit where the TDS or the OEM procedure says otherwise: flash times, mix ratios, film build and blend rules come from the sheet, not from memory.
- Treating defects as one topic: Solving Paint Application Problems (wet-film defects at the gun) and Finish Defects, Causes, and Cures (cured-film failures) are two areas with two sets of causes.
- Skipping Safety Precautions because it is only five questions; they are the easiest five on the test when the respirator, fit test and SDS rules are known.

Written by Mr. Hernandez Collision Repair Instructor at Sheridan Technical College, five years teaching the ASE B-Series. About the instructor
A. Surface Preparation
What to focus on
- Substrate identification first: steel, aluminum, galvanized, plastic and e-coat each take a different treatment or undercoat, and film thickness is read before the plan is made.
- The sanding sequence in order: strip or scuff, featheredge, prime, block with guide coat, final sand, clean, tack. Grit steps and the reason for each.
- Blending starts in prep: the adjacent panel is scuffed and cleaned before any color goes on, and seam sealer is evaluated before it is painted over.
Trap: The question gives a film-build reading or a substrate and asks what comes next; the answer is the step the TDS calls for, not the one most shops skip.
All 23 official tasks in this area
- Identify and remove surface corrosion.
- Remove dirt, road grime, wax, adhesive residue, mold release agents, tree sap, markings or other contaminants from the area to be refinished and any adjacent vehicle surfaces.
- Inspect and identify substrate, substrate condition, type of finish, film thickness and surface condition; develop a plan for refinishing.
- Remove paint finish.
- Sand areas to be refinished.
- Featheredge areas to be refinished.
- Identify type of substrate and apply suitable treatment or undercoat.
- Mask and protect areas that will not be refinished.
- Mix and apply primer-surfacer.
- Apply finishing filler to minor surface imperfections.
- Block sand area to which primer-surfacer and/or finishing filler have been applied.
- Remove dust residue from area to be refinished.
- Clean area to be refinished using proper cleaning solutions.
- Remove, with a tack cloth, any dust or lint particles from the area to be refinished.
- Apply primer-sealer and/or adhesion promoter.
- Remove imperfections from primer-sealer.
- Prepare the adjacent areas for blending.
- Apply stone-chip resistant coating.
- Apply corrosion resistant coatings to repaired areas.
- Remove and apply decals, transfers, tapes, and pinstripes (painted and/or taped).
- Take appropriate measures to eliminate static electricity.
- Prepare surfaces for seam sealer application; evaluate the application of seam sealers prior to refinishing.
- Identify pin holes; determine the cause(s) and correct the condition.
B. Spray Gun Operation and Related Equipment
What to focus on
- Fluid tip, needle and air cap are chosen for the material (primer-surfacer, sealer, basecoat, clear), and HVLP cap pressure is read at the cap, not the regulator.
- Pattern, fluid and air adjustments in the order the gun maker lists them, with a test pattern on paper before the panel.
- Force-drying methods and the flash-off rule: solvents leave before heat arrives, for every product.
Trap: Infrared and bake questions hinge on starting the clock at panel temperature after flash, never at the booth door.
All 3 official tasks in this area
- Adjust spray gun, air pressure, fluid, and pattern control valves.
- Select correct spray gun, needle, fluid tip, and air cap for material being sprayed.
- Force-dry sprayed materials (bake, infrared, UV lamps, airflow, etc.).
C. Paint Mixing, Matching, and Applying
What to focus on
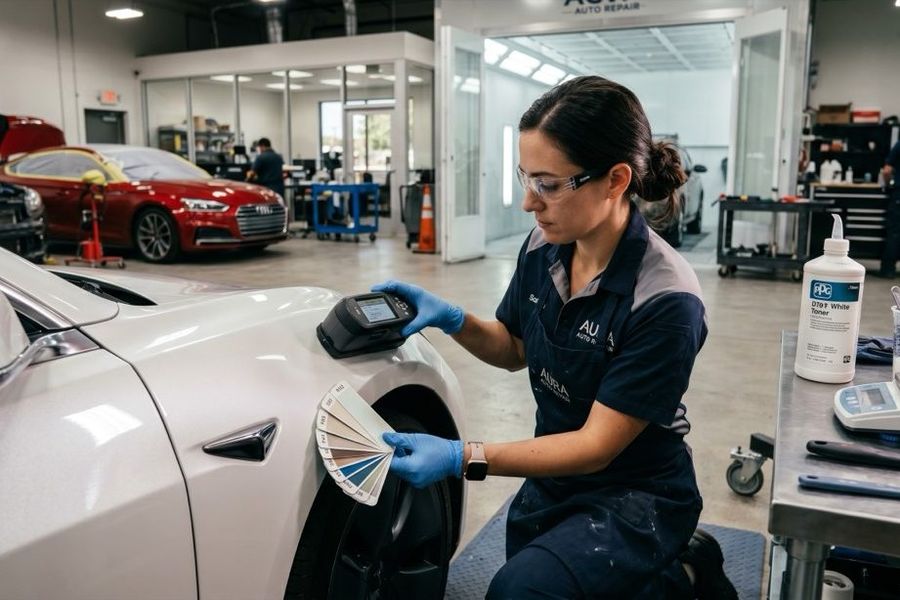
- Find the color code, read the formula, mix by weight, strain, check viscosity, then prove the match on a sprayout or let-down panel before the car.
- Spray technique as the test words it: arc, angle, distance, speed and overlap, and how each one moves the color on metallics and pearls.
- Basecoat for spot, panel, blend and overall repairs, then clear; interior and exterior trim refinish with the right adhesion promoter.
Trap: Color match questions are about the process (sprayout, light source, flop angle) rather than a shortcut; any answer that skips the test panel is wrong.
All 9 official tasks in this area
- Determine the color, code, and type of finish on the vehicle.
- Identify paint color formula and the use of mixing equipment and materials.
- Mix, strain, and test viscosity (if necessary) of refinish material.
- Use appropriate spray gun technique (arc, angle, distance, speed, and spray pattern overlap) for the finish being applied.
- Apply selected product on test panel or let-down panel.
- Check color match; adjust as necessary.
- Apply basecoat or multi-stage (mica, pearl, etc.) coats for spot, panel, blending, and overall refinishing.
- Apply clearcoat.
- Refinish interior and exterior trim components.
D. Solving Paint Application Problems
What to focus on
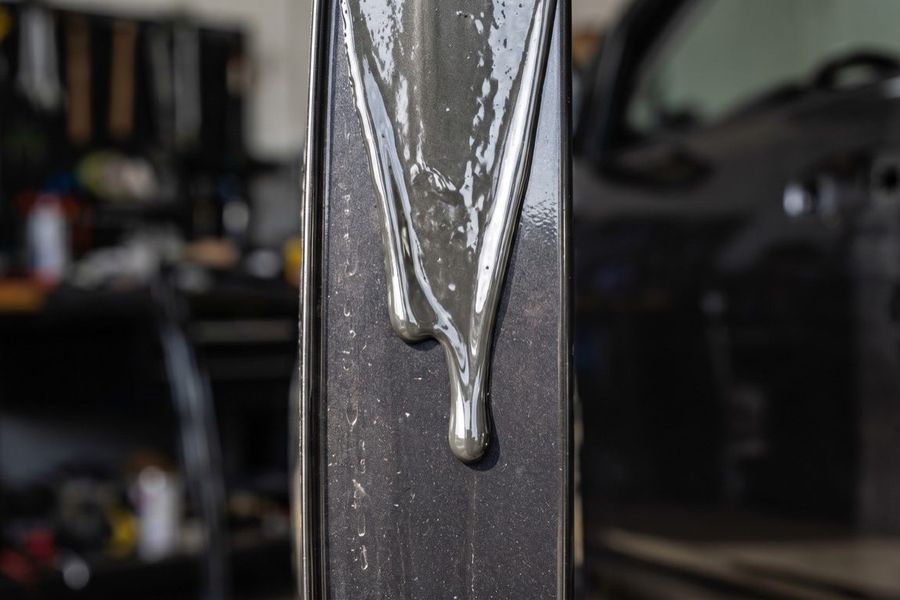
- Wet-film defects and their immediate cause at the gun: dry spray, orange peel, runs and sags, fisheyes, lifting, mottling, overspray, tape tracking, dirt.
- Each defect pairs with one correction made before the next coat, and the question usually asks for the cause rather than the fix.
- Mottling and streaking in metallic and effect colors are gun distance, speed and flash problems, not a formula problem.
Trap: Orange peel and dry spray share causes (gun too far, travel too fast, too little fluid, wrong reducer); the question tells you which by describing the film.
All 9 official tasks in this area
- Identify dirt or other foreign objects in the refinished surface; determine the source(s) and correct the condition.
- Identify a dry spray appearance in the refinished surface; determine the cause(s) and correct the condition.
- Identify the presence of fish-eyes (crater like appearance); determine the cause(s) and correct the condition.
- Identify lifting (surface distortion or wrinkling) of the refinished surface; determine the cause(s) and correct the condition.
- Identify mottling or streaking in metallic, mica, and effect paint finishes; determine the cause(s) and correct the condition.
- Identify excessive or lack of texture (orange peel); determine the cause(s) and correct the condition.
- Identify an overspray condition; determine the cause(s) and correct the condition.
- Identify sags and runs; determine the cause(s) and correct the condition.
- Identify tape tracking/marking; determine the cause(s) and correct the condition.
E. Finish Defects, Causes, and Cures
What to focus on
- Cured-film failures: delamination, cracking, blistering, water spotting, environmental damage, chalking, bleed-through, buffing damage, solvent pop, shrinking, die-back.
- Each failure has a cause that happened earlier in the process (prep, mix, flash, film build), and the cure often means refinishing, not polishing.
- Blend issues are a prep-and-technique failure; bird droppings, sap and rail dust are environmental and have their own removal rules.
Trap: Die-back, solvent pop and blistering all point back to flash time and film thickness; pick the cause that happened first.
All 15 official tasks in this area
- Identify delamination (poor adhesion, peeling); determine the cause(s) and correct the condition.
- Identify finish cracking (crow’s feet or line-checking, micro-checking, etc.); determine the cause(s) and correct the condition.
- Identify sags and runs in the refinished surface; determine the cause(s) and correct the condition.
- Identify blistering in the finished surface; determine the cause(s) and correct the condition.
- Identify water spotting on the finished surface; determine the cause and correct the condition.
- Identify finish damage caused by bird droppings, tree sap, and other causes; correct the condition.
- Identify finish damage caused by airborne contaminants (acids, soot, rail dust, chemicals, and other industrial-related causes); correct the condition.
- Identify chalking (oxidation); correct the condition.
- Identify bleed-through or staining; determine the cause and correct the condition.
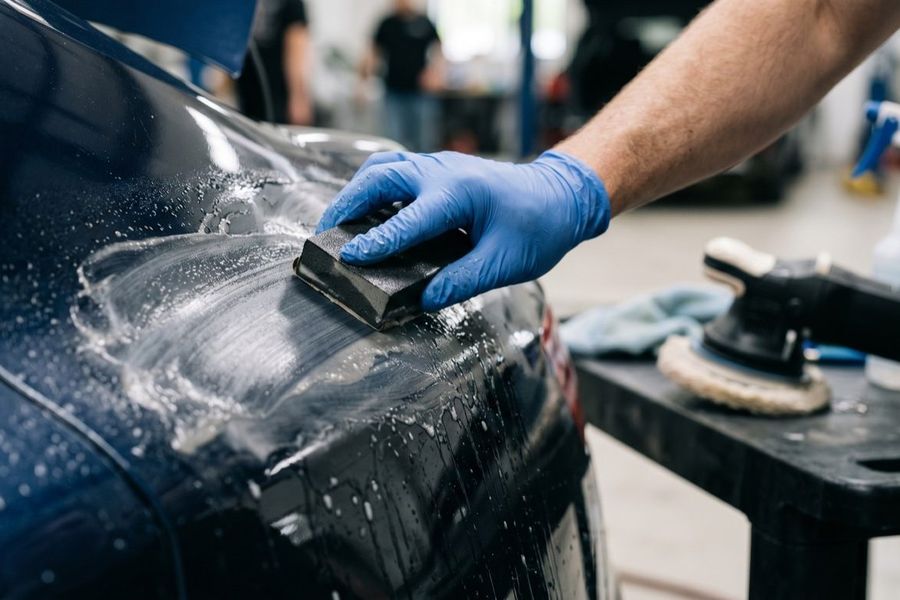
- Identify damage caused during buffing/polishing painted surfaces; correct the condition.
- Identify minor surface imperfections; determine the cause and correct the condition.
- Identify color coat blend issues; determine the cause(s) and correct the condition.
- Identify solvent popping; determine the cause(s) and correct the condition.
- Identify shrinking, swelling, or splitting while the finish is curing; determine the cause(s) and correct the condition.
- Identify die-back (dulling of the paint film); determine the cause(s) and correct the condition.
F. Safety Precautions
What to focus on
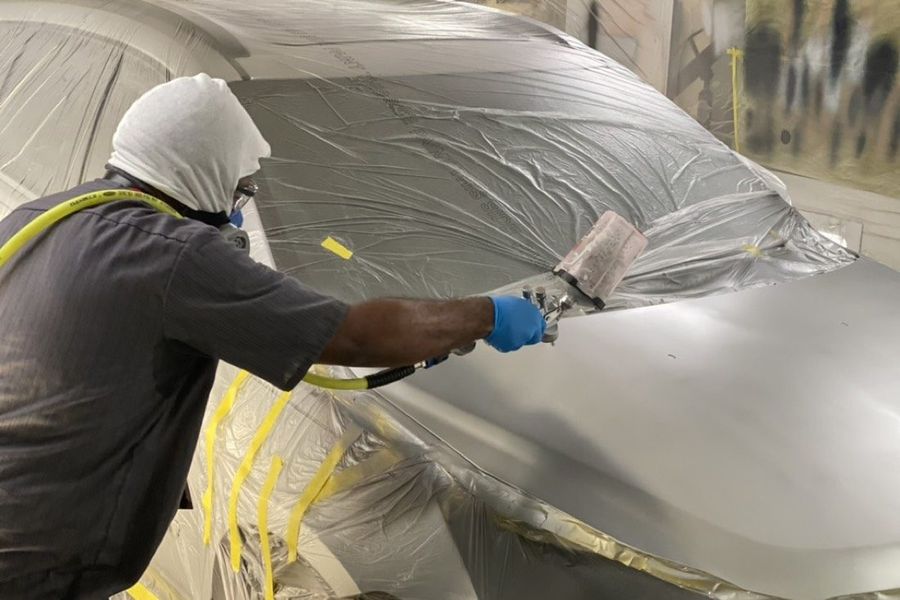
- Respirator type for isocyanate clears, the fit test, cartridge change-out, and when supplied air is required.
- SDS reading: hazards, PPE, first aid and storage for the products on the bench.
- Vehicle and equipment hazards: spray booth airflow, grounding and static, lifting and lighting.
Trap: Five questions, all answerable from the SDS and the respirator rule; do not leave them to guesswork.
All 3 official tasks in this area
- Identify and take necessary precautions with hazardous operations and materials.
- Identify and correct vehicle, equipment and material hazards to employee health and safety.
- Select personal protection equipment (PPE); inspect to insure fit, operation, and maintenance.
A 30-Day ASE B2 Study Plan
Diagnostic and Surface Preparation
Take a full-length timed practice test to find your weak areas. Then work Surface Preparation (27 percent of the test): substrate ID, sanding sequence, primers and sealers, blending prep, seam sealer.
Paint Mixing, Matching, and Applying
The other 27 percent: color codes and formulas, mixing by weight, viscosity, sprayout panels, technique words (arc, angle, distance, speed, overlap), basecoat and clear application.
Defects, wet and cured
Solving Paint Application Problems and Finish Defects together (26 percent): one cause and one cure per defect, learned as pairs. Add Spray Gun Operation.
Safety, review and timed tests
Safety Precautions (respirator, SDS, booth), then two full timed practice tests on different days, reviewing every miss against the task list. Stop new material 48 hours before the test.
Key Terms to Know
702 more in the ASE B2 glossary, each with a plain-words definition.
ASE B2 Study Guide FAQ
- How long should I study for the ASE B2?
- Four weeks at an hour a day is enough for a working painter; the plan above puts the hours where the questions are: Surface Preparation and Paint Mixing, Matching, and Applying carry 30 of the 55 scored questions.
- What should I study first for the ASE B2?
- Surface Preparation. It is 15 of the 55 scored questions and the sequence (substrate, sand, prime, block, clean, tack) feeds every other area.
- Is the ASE B2 hard for an experienced painter?
- The content is familiar; the trap is answering from shop habit where the technical data sheet or the OEM procedure says something else. Study the sheet, not the shortcut.
- Where can I practice ASE B2 questions free?
- The free ASE B2 practice test on this site has 20 questions written in the ASE style with the answer and the reason, no sign-up.
More on the ASE B2 Test
- How to Pass the ASE B2 Painting & Refinishing Exam
- Orange Peel: Sand and Buff It, or Respray? The Decision a Painter Makes Before Touching the Panel
- What Is ASE Collision Repair Certification? The Five Tests, Which One to Take First, and What Master Status Means
- How to Fix Orange Peel in Automotive Paint (and Stop It Before It Starts)
- Top Waterborne Basecoats Compared (ASE B2 Refinish Prep)
- Solvent vs Waterborne Paints: Which Wins on the ASE B2?
Next Steps
ASE®, the ASE logo, and "ASE Certified" are registered trademarks of the National Institute for Automotive Service Excellence. This site is an independent study resource and is not affiliated with, endorsed by, or sponsored by ASE. Content areas, question counts and pass requirements follow ASE's published test specifications.