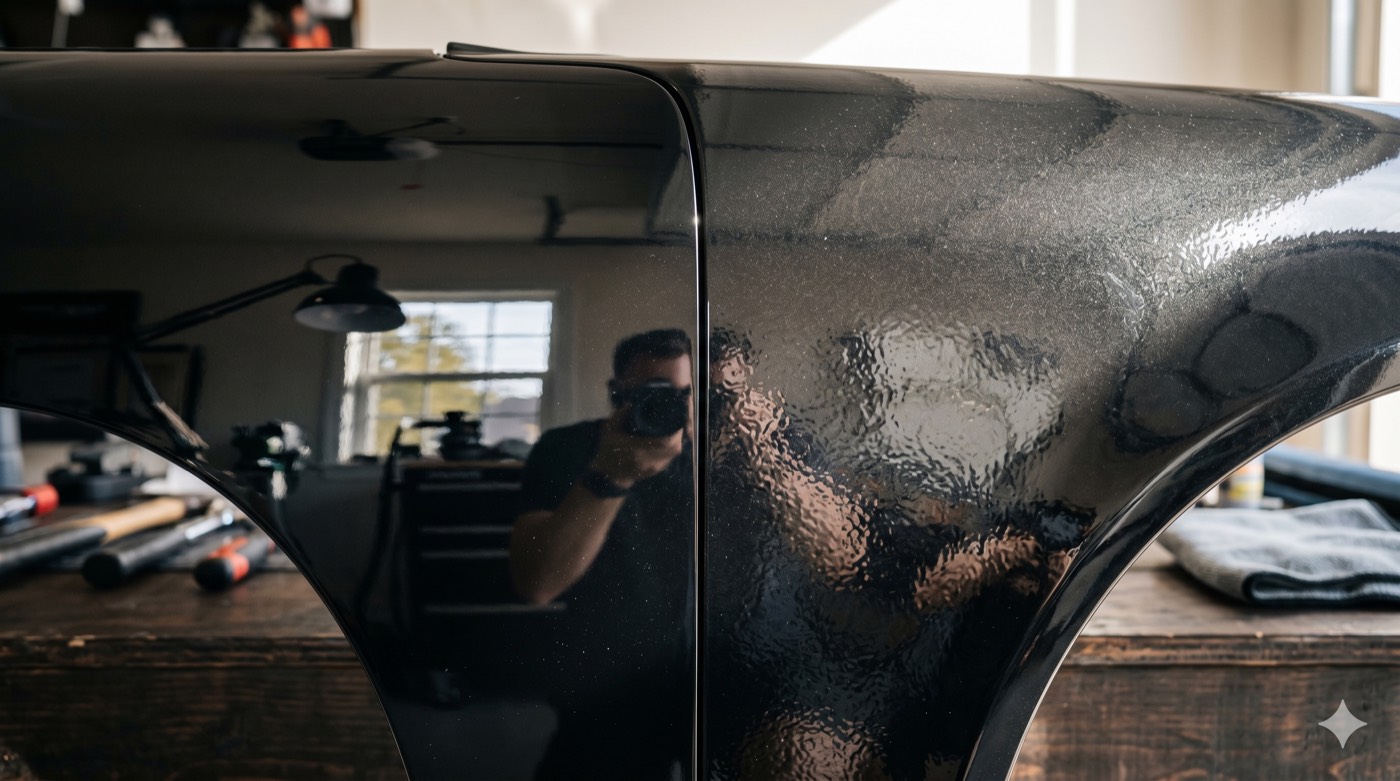
The clear is on, the booth is cooling, and the panel has texture. Not a run, not dry spray, just that dimpled, citrus-skin surface that breaks the reflection into a thousand little hills. Every painter has stood there with the same two options: sand it flat and buff it back to gloss, or scuff it and shoot it again. The wrong choice costs either a panel that fails in a year because the clear is too thin, or a booth cycle and a set of materials you did not need to spend.
Our earlier article explained what orange peel is and how to dial it out at the gun. This one is about the decision afterward, and about the one tool that makes it: the film thickness gauge. It is also an ASE B2 Painting and Refinishing question, in two content areas: Solving Paint Application Problems asks you to identify excessive or lack of texture and correct it, and Surface Preparation asks you to read film thickness before you plan.
What you are actually deciding
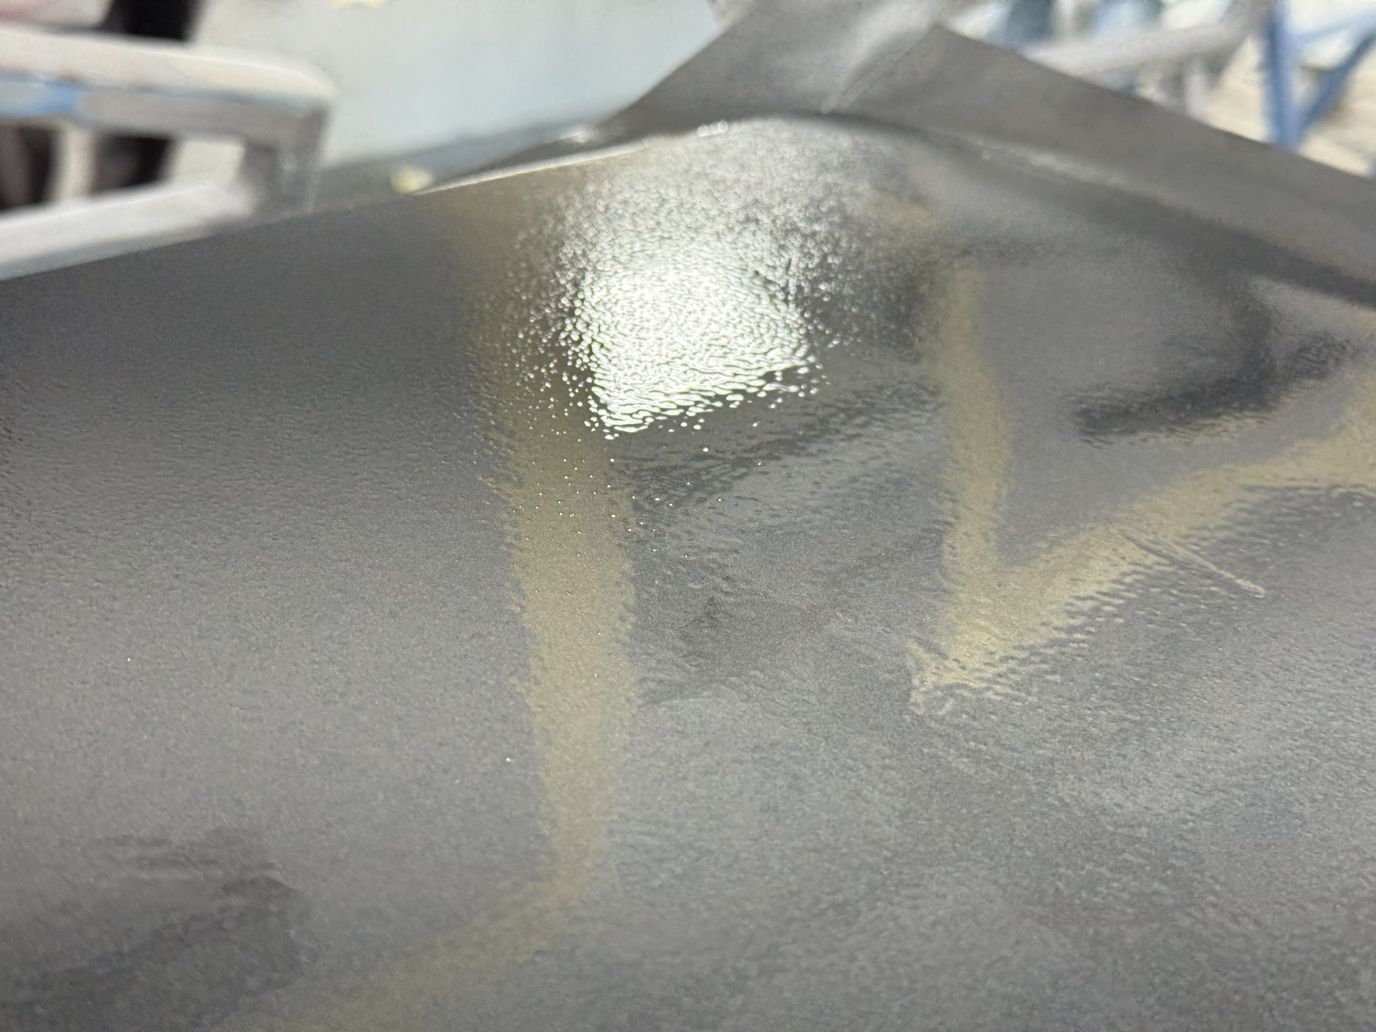
Orange peel is a film that landed half-leveled. The droplets hit the panel too dry, too far apart or too thick to melt together, and the surface set before it flowed flat. The texture is real height: peaks and valleys measured in fractions of a mil. Sanding removes the peaks down to the valleys and leaves a flat film that is thinner than what you sprayed. Buffing then removes the sanding scratch and restores gloss, and it removes a little more film doing it.
So the decision is a film-thickness decision. You are asking two questions:
- Is the texture in the clear, or under it? Sanding only reaches what is on top. Peel in the basecoat, mottling in a metallic, or dry spray in the color shows through a flattened clear as clearly as it did before.
- Is there enough clear to lose the peaks and still meet the manufacturer's minimum? Clear carries the ultraviolet screeners that protect the color. Cut it too thin and the panel looks perfect on delivery and fails in the sun.
Everything else, the grits, the compounds, the pad, follows from those two answers.
The numbers the manufacturers publish
This is where shop habit and the published rule part ways, and where the ASE B2 test lives.
- General Motors states that the clearcoat on its vehicles is typically 1.5 to 2 mils thick and carries the ultraviolet screeners that protect the color, and it warns that removing more than 0.5 mil of clearcoat may cause early paint failure. GM also notes that older magnetic pull gauges are accurate to about 5 percent at best, which is too coarse to see a half-mil loss, so the gauge matters as much as the limit.
- Ford states that clearcoat needs about 2 mils of thickness to hold up against sunlight and weather, and its removal limit is tighter than GM's: remove more than 0.3 mil of paint film by color sanding, buffing or polishing and the panel must be refinished.
- Honda's color-sanding guidance for etch removal sands away about three quarters of the defect and removes no more than half a mil, or 12 microns, before polishing.
One mil is one thousandth of an inch, about 25 microns. A typical factory clear at 1.5 to 2 mils and a limit of 0.3 to 0.5 mil means you have between a sixth and a quarter of the clear to work with, and heavy peel can be deeper than that. On a refinish, the clear you applied is whatever the technical data sheet's recommended coats gave you, which is why the TDS and a gauge reading before you sand are the two documents the decision rests on.
Step one: measure before you touch it
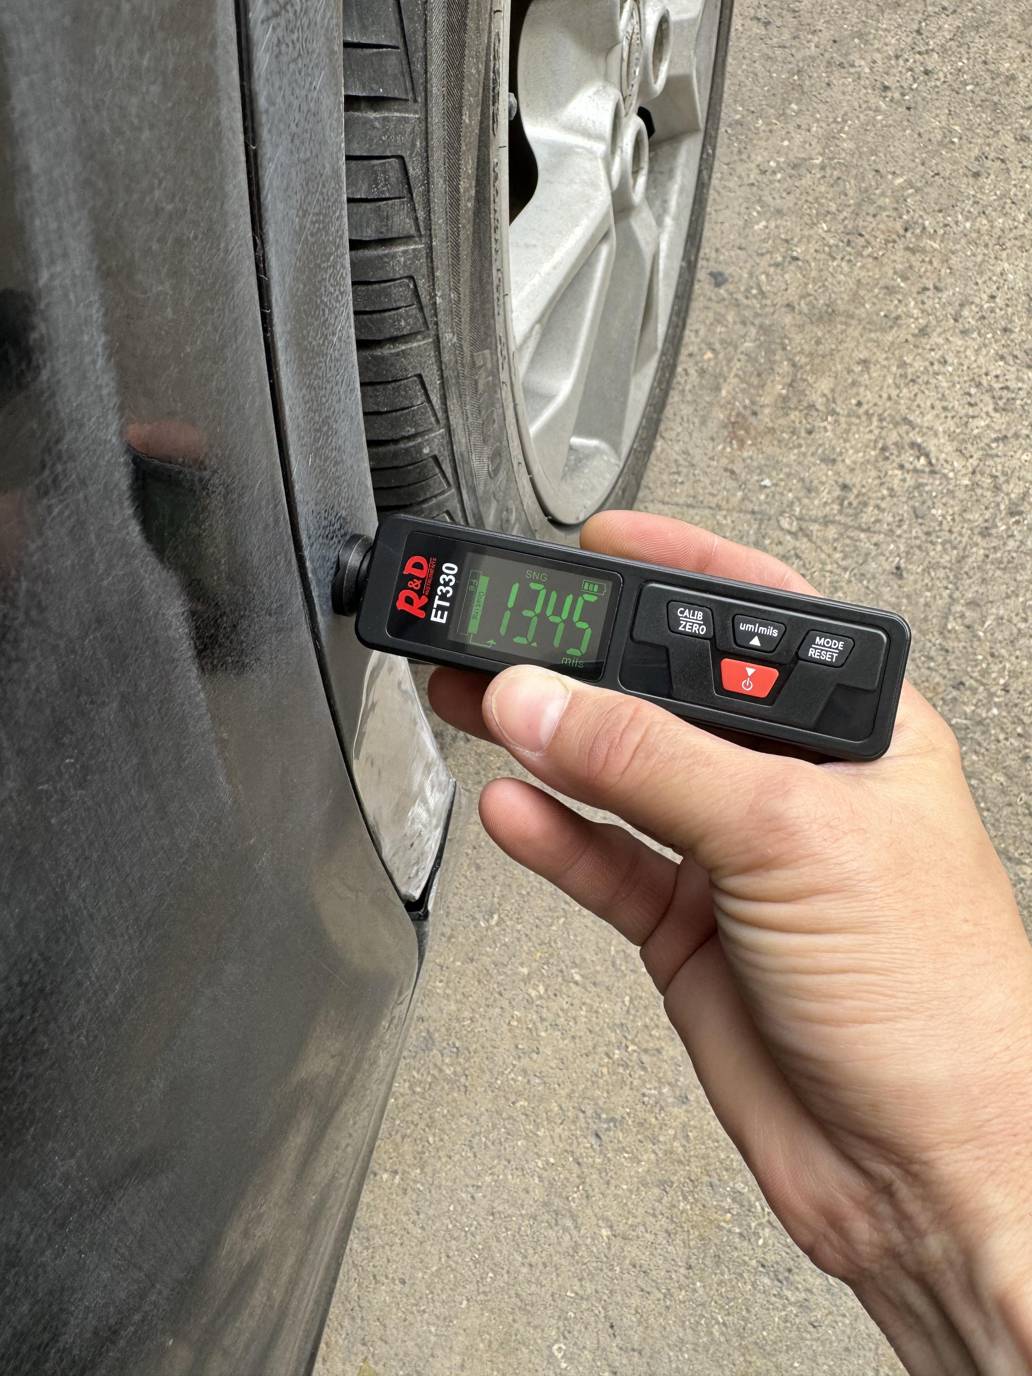
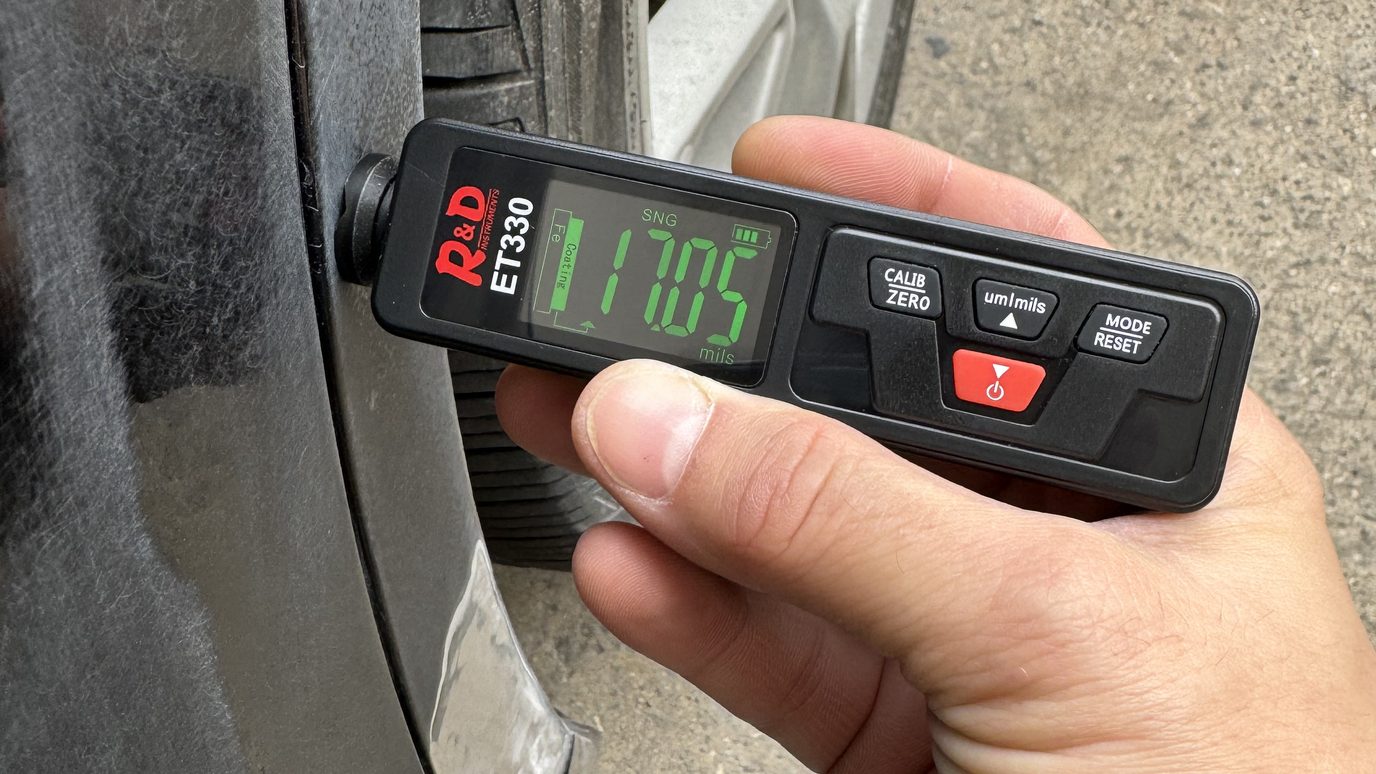
A digital film thickness gauge reads total film build: e-coat, primer, color and clear stacked together. It does not read the clear on its own, so a reading of 13 or 17 mils is the whole stack, not 13 or 17 mils of clear. On a factory panel next to the repair, that total is the baseline. On the panel with the peel, the reading minus the baseline tells you roughly how much extra film the refinish added, and the clear is the top part of that.
Take readings in five places across the panel, because film is never even: edges and the lower body are usually thinner, the center thicker. Write them down. Then estimate the depth of the peel. A fingernail that catches on the texture, or a reflection that breaks into clearly separated highlights, is heavy peel, often 0.3 mil or more of height. A light, uniform texture that only shows in a fluorescent reflection is shallow and usually within the removable range.
If the panel is a factory finish with light peel, the manufacturer's limit is the ceiling: 0.5 mil on a GM, 0.3 on a Ford. If it is your refinish, the ceiling is the clear you applied minus the TDS minimum.
Step two: decide
Sand and buff when all of these are true:
- The texture is in the clear. Look at the panel at a low angle under a single light; peel in the clear breaks the reflection but the color underneath reads even. If the color itself looks blotchy or striped, the problem is under the clear.
- The gauge says there is film to spare after the peaks come off, within the maker's removal limit on a factory panel or above the TDS minimum on a refinish.
- The peel is uniform and shallow enough to flatten with 1500 grit or finer in a few passes. Peel that needs 1000 grit to level is taking film fast.
- There is no second defect riding along: no dry spray at the edges, no solvent pop, no dirt nibs deep in the film. Each of those has its own rule and some of them mean a respray on their own.
Respray when any of these is true:
- The texture is in the basecoat. A flattened clear over textured color is a mirror over a bumpy wall; it looks worse, not better.
- The film cannot spare the depth. A refinish clear already at the TDS minimum, or a factory clear that would lose more than the maker allows, is resprayed. Thin clear fails later and out of sight.
- The peel is heavy across the whole panel. Leveling heavy peel panel-wide removes more film than any limit allows, and the hours of sanding and buffing often exceed a scuff and a recoat anyway.
- The job is a warranty or a manufacturer-program repair where the maker's limit is the contract. Ford's 0.3 mil is not a suggestion on a Ford program job.
The Bing searcher's question, a black panel with orange peel, "sand or respray," has a specific answer. Black shows every scratch, so the sanding and buffing path on black demands the finest progression and the most polishing time, and it is where a marginal film reading most often says respray. Black also hides nothing on the respray side: the setup has to be right the second time, which is the next section.
Step three, if you sand: the progression that works
Wet sanding with a soft block, not by hand, keeps the surface flat; fingers follow the peel instead of cutting it.
- 1500 grit wet to knock the peaks down (1200 for heavier peel, 1000 only with a gauge reading that allows it). Sand until the texture is gone in the dry-wiped reflection, and stop. Every stroke past flat is film you are giving away.
- 2000 grit to refine the 1500 scratch.
- 3000 grit to leave a scratch the compound removes quickly.
- Compound on a wool or microfiber cutting pad, then polish on a foam finishing pad. Keep the panel cool; heat softens the clear and the pad digs.
- Measure again. The after reading tells you what came off, and on a factory panel it tells you whether you stayed inside the maker's limit. Write it on the repair order.
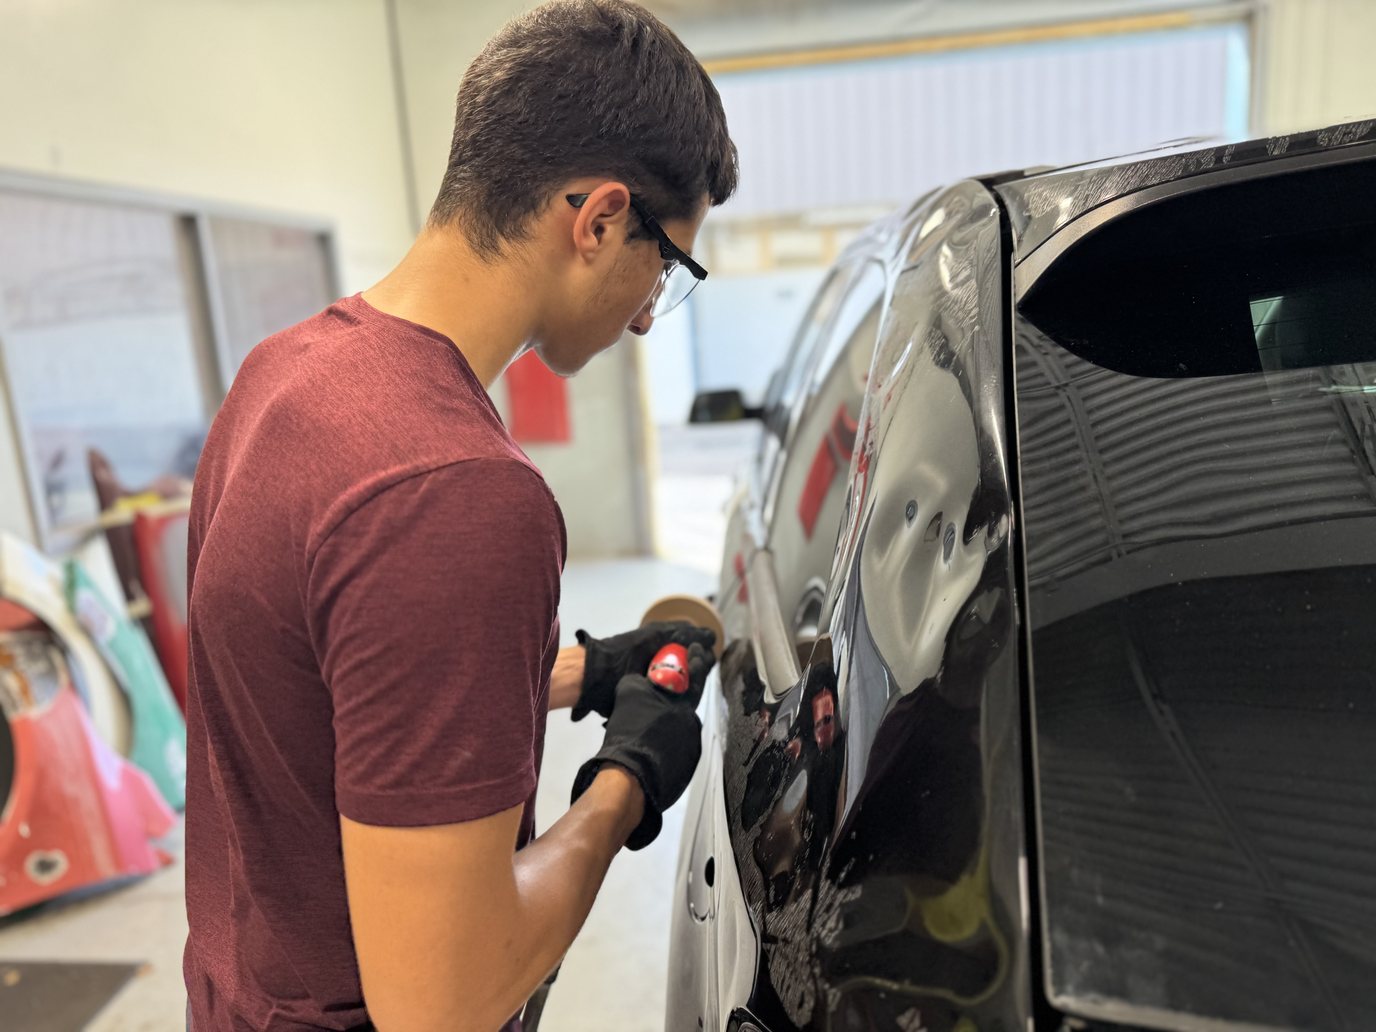
Edges and body lines get a strip of tape and no block. They carry the thinnest film on the panel and they are where a buffer burns through first.
Step three, if you respray: fix the cause first
Respraying orange peel without changing the setup produces orange peel. The causes are the "too dry to flow" family: gun too far from the panel, travel too fast, viscosity too thick, or the wrong reducer for the booth temperature. The ASE B2 test asks for the cause, and Toyota's paint guide gives the four corrections in one list:
- A slower-evaporating solvent (the slower reducer for the temperature), so the film stays wet long enough to flow flat.
- Higher air pressure at the gun for better atomization, which means finer droplets that melt together.
- A slower gun travel speed.
- A shorter gun-to-panel distance.
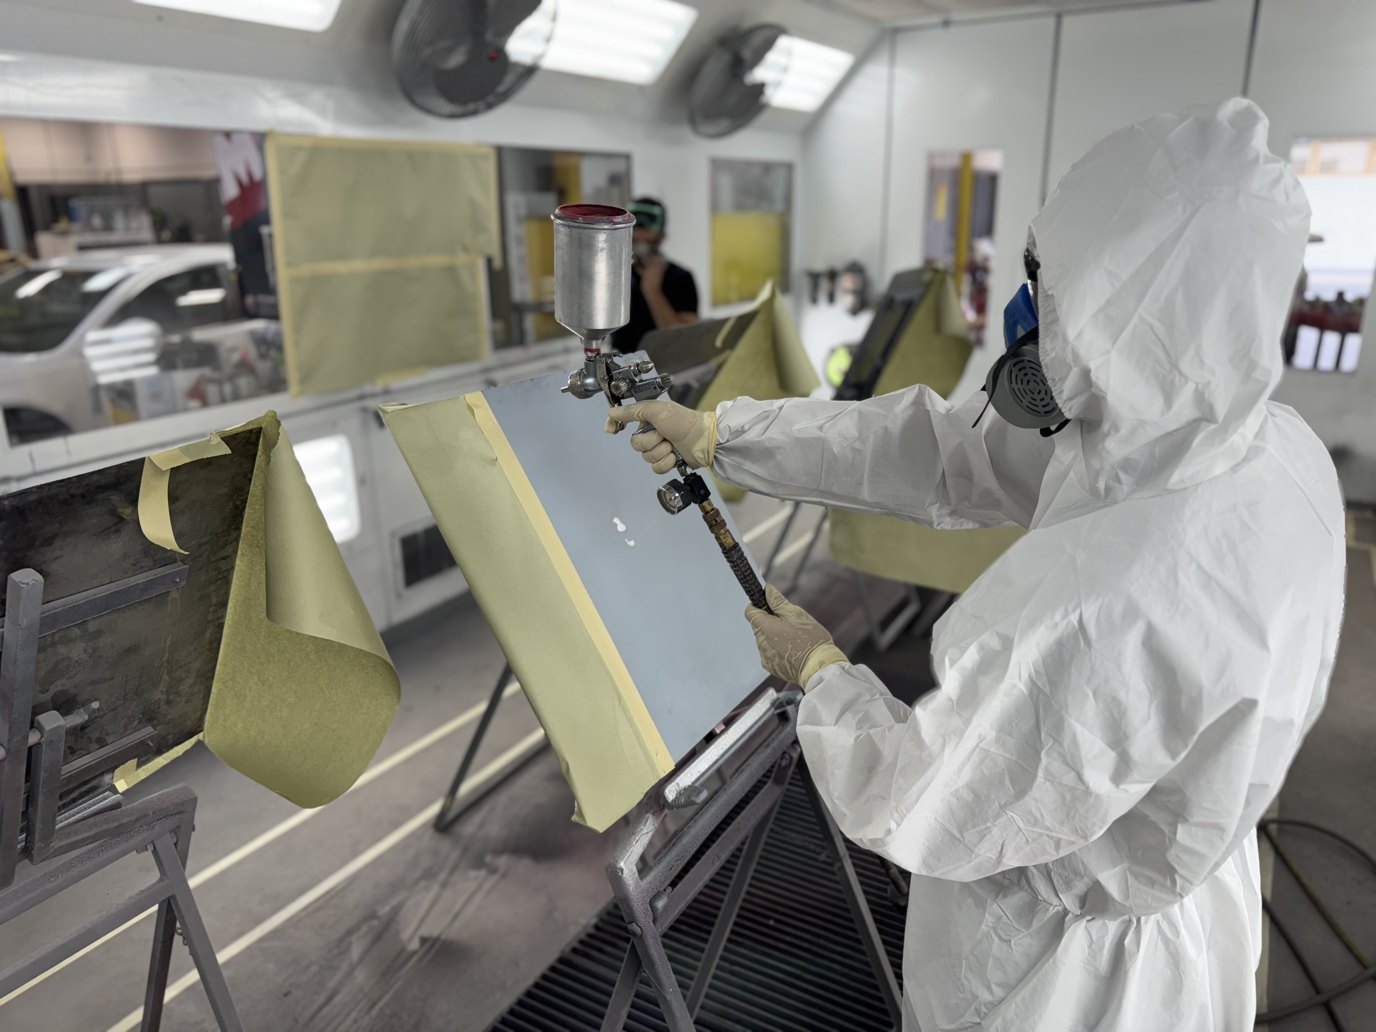
Check the viscosity with the flow cup, prove the pattern on masking paper, and spray a test panel before the car. Then scuff the peeled panel, clean it, and apply the clear at the TDS's coat count and flash times. The flash time matters twice here: too short and the next coat traps solvent, too long and the second coat lands dry and peels again.
What the ASE B2 test asks
The questions come in three shapes. A description of a film ("dimpled texture, sealed, never flowed flat") that asks for the defect name and its cause: gun distance, travel speed, viscosity, reducer. A gauge reading on a panel that asks what the technician should do, where the right answer respects the manufacturer's limit and the wrong answers sand first or ignore the reading. And a Technician A and Technician B pair where one of them states a maker's limit correctly, for example GM's 0.5 mil, and the other overstates it. The thread through all three is the same as the decision in the booth: measure, respect the published number, fix the cause.
Where this fits in your study
The free ASE B2 practice test has 20 questions written the way the test asks them, with the reason behind every answer, and the refinishing defects cheat sheet puts orange peel beside the other defects it is confused with: dry spray, solvent pop and mottling. The ASE B2 task list shows the two tasks this article covers, in Surface Preparation and in Solving Paint Application Problems.
Film thickness limits are the manufacturers' published figures as taught in the ASE Academy lessons, where each was grounded against the maker's own document; read the current procedure for the vehicle in front of you before you sand. ASE Collision Test Prep is not affiliated with any vehicle or paint manufacturer or with ASE.

Discussion
Join the discussion — sign in to comment.
Comments are reserved for registered students and technicians. Your name will be pulled from your profile automatically.
Log In Register