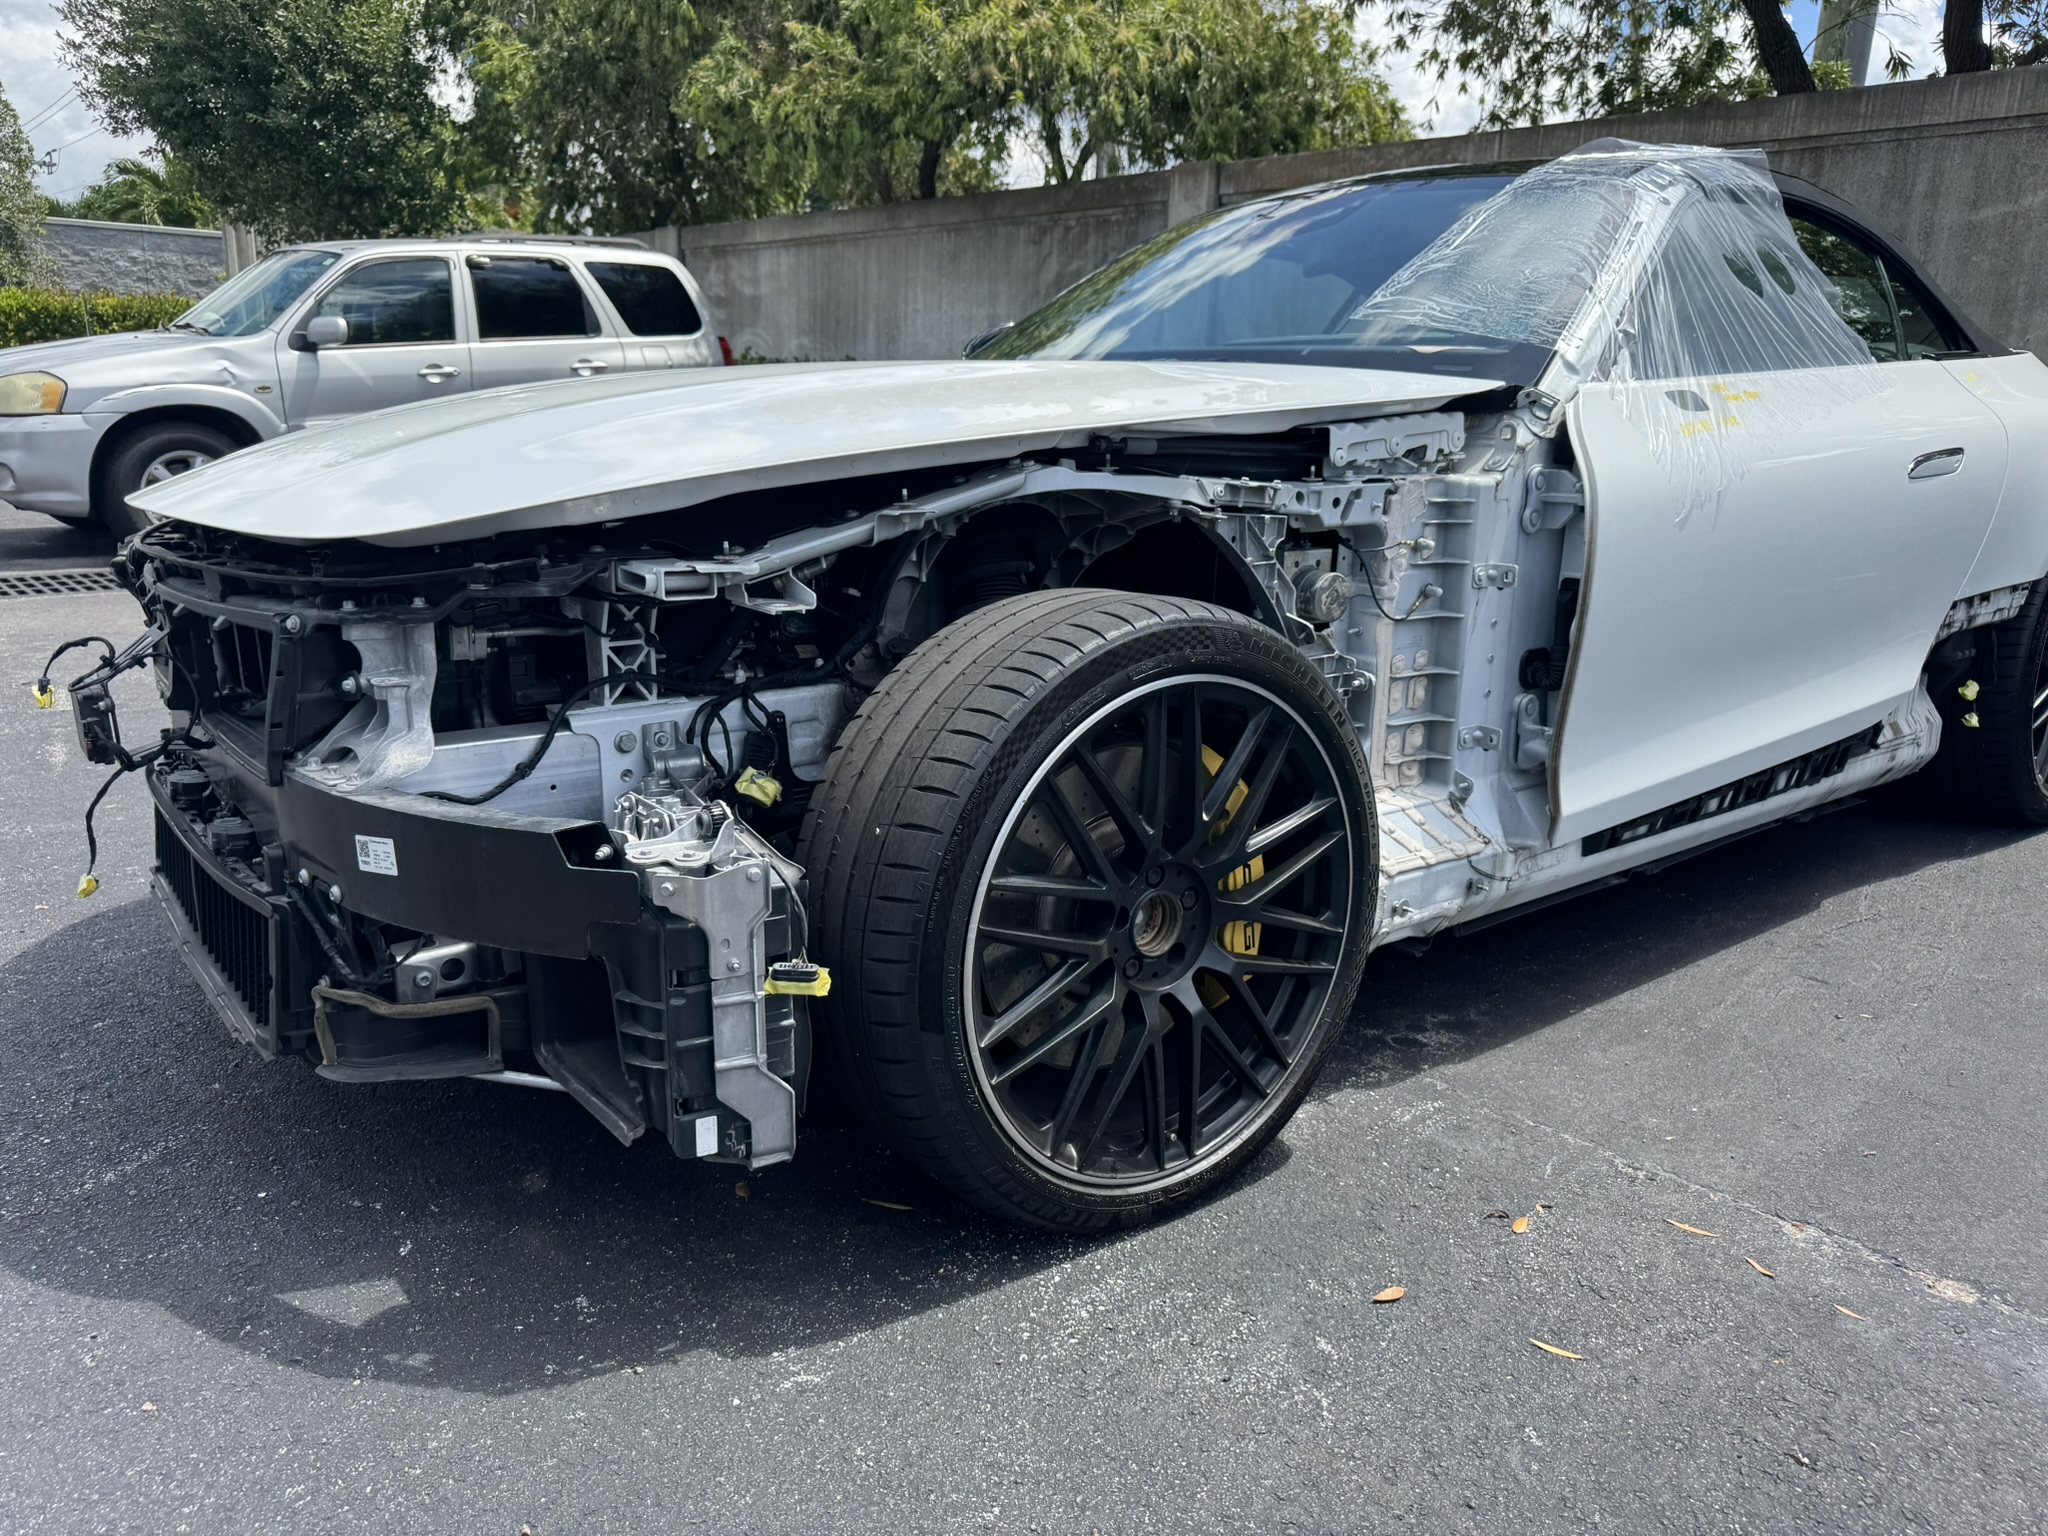
The Five Topics That Decide the Test
After years of debriefing students at Sheridan Technical College on their ASE B4 Structural Analysis & Damage Repair score reports, the same five topics keep showing up at the bottom of category breakdowns. Not because the topics are unfair. Because they require specific, OEM-procedure-aligned knowledge that shop experience alone doesn't deliver.
Master these five and you've solved most of the test. Skip any of them and you're rolling the dice on whether your overall score crosses the passing threshold.
This article goes deep on each one, with the specific procedures, the trap-question patterns, and the test-correct answers that show up across every recent ASE B4 cycle.
The ASE B4 in Brief
Before the five topics, a quick refresher on what the test looks like.
- 65 scored questions plus roughly 10 unscored research questions.
- 90 minutes of test time.
- Passing score around 70%.
- Five question formats: standard direct, Technician A / Technician B, EXCEPT, MOST likely, LEAST likely.
- Five content areas: Frame Inspection and Repair (26%), Unibody Inspection / Measurement / Repair (34%), Stationary Glass (9%), Anchoring and Pulling (15%), Welding / Cutting / Joining (15%).
Pricing has been rising annually. Check ase.com for current rates.
The five topics below cut across multiple content areas. They're the patterns that make the difference between pass and fail for most students.
Most-Missed Topic #1: Boron Steel and UHSS Rules
Boron steel (press-hardened steel, PHS) and UHSS (ultra-high-strength steel) appear in almost every modern vehicle. The ASE B4 tests them heavily.
What you must know cold
Heat limits.
- Boron / PHS: typically capped around 1100°F. Heating above the OEM threshold destroys the molecular structure that gives the steel its strength.
- UHSS: typically capped at 700°F for limited duration.
- DP (dual-phase) steel: similar to UHSS, with OEM-specific limits.
- Mild steel: roughly 1200 to 1400°F for limited duration is the typical published limit.
Section vs. replace.
- Boron and UHSS components typically cannot be sectioned. They must be replaced at the factory joint.
- Some lower-strength HSS panels have OEM-specified section locations.
- The default test-correct answer when in doubt: replace at the factory joint, not section.
Joining methods.
- Boron and UHSS are typically joined with silicon bronze MIG brazing or STRSW (squeeze-type resistance spot welding), NOT standard MIG plug welding. Standard MIG plug welding compromises the steel's strength because the heat-affected zone is too large.
Identification.
- Color coding on parts (varies by OEM).
- ISO part numbers.
- OEM documentation.
The trap-question patterns
- A scenario describes a tech using a torch to heat a B-pillar. The tech is wrong every time on the ASE B4.
- A scenario describes a tech MIG-plug-welding a DP steel rail per "shop standard." Wrong. The OEM procedure specifies STRSW or silicon bronze MIG brazing.
- A scenario describes a tech sectioning a boron rocker reinforcement at "the cleanest available joint." Wrong. Replace at the factory joint or per the OEM-specified location only.
How to study this topic
- Memorize the heat thresholds (1100°F boron, 700°F UHSS) cold.
- Build a flashcard deck pairing material type to joining method.
- Drill 30 to 50 ASE B4 questions specifically in the structural panel category.
- Read I-CAR's published boron and UHSS technical bulletins for the latest OEM-aligned guidance.
Most-Missed Topic #2: 3D Measurement Systems and Datum References
Unibody measurement is 34% of the ASE B4, and the 3D measurement subset is where most students lose the most points.
What you must know cold
The three reference planes.
- Datum. Imaginary horizontal plane used as the vertical reference. All height measurements take from datum.
- Centerline. Imaginary vertical plane that divides the vehicle left and right. All width measurements take from centerline.
- Zero plane. Vertical reference plane (typically at the rear of the vehicle) defining the longitudinal "0" point.
Measurement systems.
- Centerline (datum line) measurement. Straight-line measurements between fixed reference points. Older technique still on the exam.
- Symmetry checks. Comparing left-side to right-side dimensions point for point. Mismatches indicate damage on one side.
- 3D laser / computerized measuring systems. Car-O-Liner, Chief Velocity, Spanesi Touch, Celette. The most accurate and most-tested method.
Reading measurements.
The ASE B4 will give you a scenario like: "After a frontal collision, measurements show the left front rail is 12 mm short and 8 mm low. The right rail is unchanged." You must identify whether this is primary damage, secondary damage, or induced damage, and what the correction sequence is.
Correction sequence rule: always correct in the reverse order damage occurred. If sag came after mash, correct sag first.
The trap-question patterns
- A scenario describes "eyeballing" the rail and declaring it in spec without measurement. Wrong. The test-correct answer is 3D measurement against the OEM datum.
- A scenario describes measuring symmetry without checking against published OEM dimensions. Wrong. Symmetry alone isn't enough; you also need the absolute reference.
- A scenario describes correcting upper body misalignment before lower body. Wrong. Correct lower first; upper often resolves automatically.
How to study this topic
- Memorize the three reference planes and what each one measures.
- Build a flashcard deck of common damage scenarios paired with correction sequences.
- If you have access to a 3D measurement system at work, request shadowing time with the senior tech who runs it. Hands-on familiarity locks in the test concepts.
Most-Missed Topic #3: OEM Sectioning Locations
The default ASE B4 question pattern: "Tech A says you can section the rocker panel anywhere as long as the weld is sound. Tech B says sectioning must be performed only at OEM-specified locations."
Tech B is right. Always.
What you must know cold
Common OEM-restricted sectioning areas:
- B-pillars. Most cannot be sectioned at all. Replace the entire pillar or sometimes only at a factory joint.
- A-pillars. Often restricted because of airbag deployment paths and structural load handling.
- Rocker panels. Section only at the published OEM location, often inboard of the B-pillar foot.
- Front rails. Specific overlap and reinforcement requirements per OEM, often with a sleeve insert.
- Quarter panels. Many have approved sectioning at the sail panel or below the belt line.
- Apron and strut tower assemblies. Usually require replacement at the factory joint.
Sectioning outside the OEM-specified zone changes the crash energy management of the vehicle. The ASE B4 grades on this concept heavily.
The trap-question patterns
- A scenario describes a tech sectioning at "the most accessible clean steel." Wrong. The OEM-specified location is the only acceptable location.
- A scenario describes a tech overlapping a section weld "to add strength." Wrong if the OEM procedure doesn't specify overlap with a backing plate or sleeve.
- A scenario describes a tech grinding the section weld flush "for cosmetics." Often wrong, depending on the panel and OEM procedure.
How to study this topic
- Memorize the typical OEM-restricted areas (B-pillar, rocker, front rail).
- Build a flashcard deck of common OEM section locations for the top 5 high-volume vehicles in U.S. service.
- Read I-CAR's published sectioning location references for current OEM-aligned guidance.
Most-Missed Topic #4: Anchoring and Pulling Vectors
Anchoring and pulling is 15% of the ASE B4 and the topic where shop-only training shows up as a knowledge gap.
What you must know cold
Anchoring fundamentals.
- 4-point anchoring minimum for most pulls. Three-point anchoring lets the vehicle twist during the pull and induces new damage.
- Anchoring opposite the pull direction to resist the pulling force.
- Frame rail anchoring for unibody vehicles requires dedicated clamps that grip the rail without crushing it.
Pulling vectors.
- Opposing pulls to "unfold" damage along its original deformation path.
- Pulling at the same level as the damage, not above or below.
- Pulling angle typically 45 degrees or less from the damage axis.
- Multiple pulls in sequence to address complex damage rather than single yanks.
Stress relief.
- Tap along the damage path during the pull, not after.
- Tapping releases locked stress so the panel returns to spec instead of springing back.
The trap-question patterns
- A scenario describes a single-tower side pull on a side-impact damage scenario. Wrong. Single-tower side pulls cause secondary damage. The right answer is dual-tower or wishbone with anchoring on the opposite side.
- A scenario describes pulling without stress relief and "pulling harder" to compensate. Wrong. Stress relief is required, not optional.
- A scenario describes pulling at a steep angle from the damage axis. Wrong. Steep angles redirect the force vector into surrounding structure.
- A scenario describes 3-point anchoring "to save setup time." Wrong. Minimum 4 points.
How to study this topic
- Build a flashcard deck of damage patterns paired with anchoring and pulling solutions.
- Memorize the rules: 4-point minimum, opposing pulls, same-level vectors, stress relief during.
- Drill the ASE B4 anchoring category specifically.
Most-Missed Topic #5: Weld-Bonding and STRSW Application
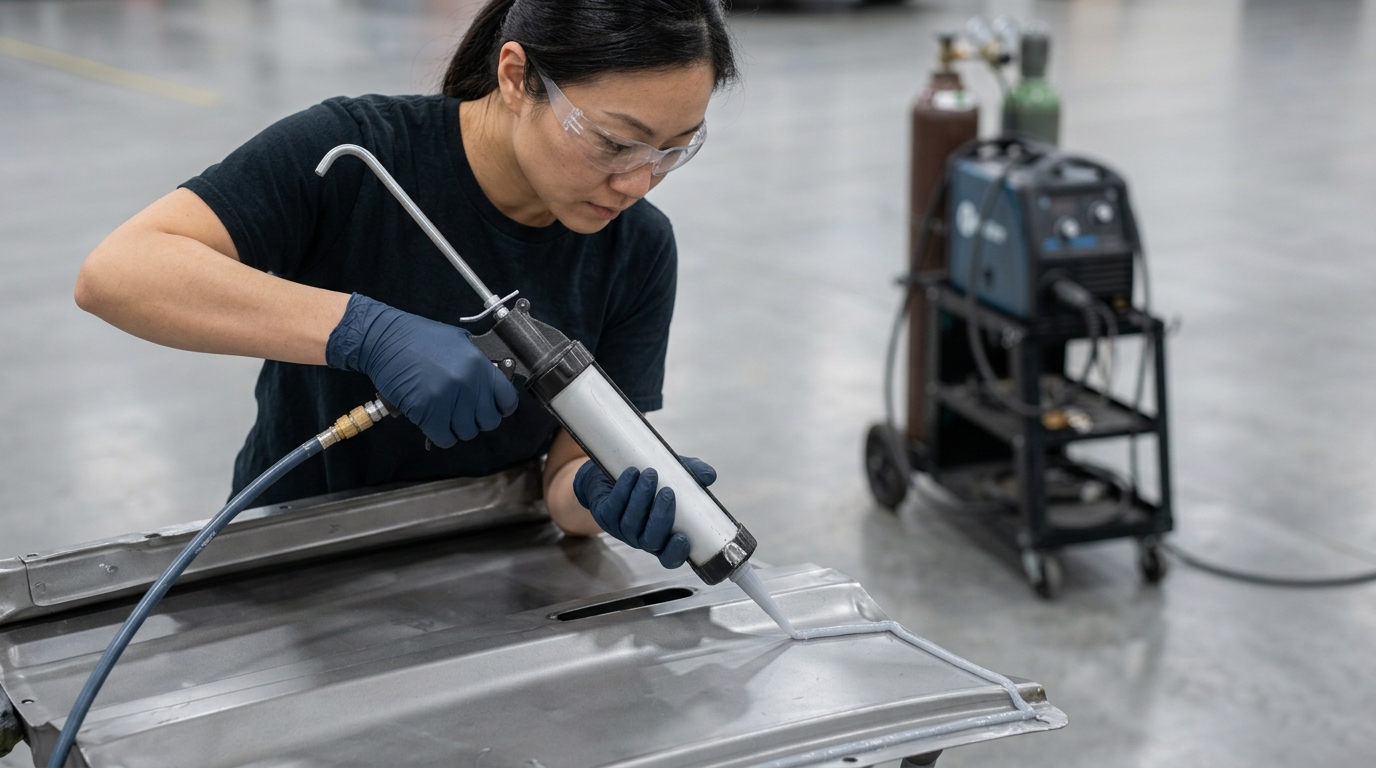
The combination of structural adhesive and STRSW (or MIG plug welds) is called weld-bonding. It's increasingly required by OEMs and increasingly tested.
What you must know cold
Weld-bonding fundamentals.
- Structural adhesive is applied to the joint surfaces.
- STRSW or MIG plug welds are then placed through the adhesive at OEM-specified locations.
- The adhesive distributes load across the joint and damps vibration; the welds provide structural fastening.
- The combined joint is stronger and more durable than either welds or adhesive alone.
Why OEMs specify it.
- Modern HSS, UHSS, DP, and aluminum joints benefit from the load distribution.
- Weld-bonding reduces stress concentration at individual weld points.
- The joint resists fatigue better, especially around panels that experience vibration or flex.
Application sequence.
- Surface preparation per the adhesive TDS (typically scuff and clean).
- Adhesive bead applied per OEM diagram.
- Welds placed through the adhesive within the adhesive's open time.
- Cure per the adhesive manufacturer's specification.
The trap-question patterns
- A scenario describes skipping the adhesive and only using welds. Wrong if the OEM specifies weld-bonding.
- A scenario describes applying adhesive AFTER welding. Wrong. The adhesive goes between the surfaces before welding.
- A scenario describes letting the adhesive cure before welding. Wrong. Welds must be placed within the adhesive's open time, while it's still workable.
How to study this topic
- Memorize the weld-bonding sequence (prep, adhesive, weld through, cure).
- Build a flashcard deck of common panel types paired with required joining method (MIG only, STRSW only, weld-bonded).
- Read the structural adhesive manufacturer TDS for the products your shop uses.
Shop Habits vs ASE B4 Test Answers
Consolidated comparison for the five most-missed topics.
| ❌ Shop Habit | ✅ Test-Correct Answer |
|---|---|
| "Heat the boron pillar until it moves." | Boron and UHSS cannot be heat-straightened above OEM threshold. Replace at factory joint. |
| "Eyeball the rail, looks straight enough." | 3D measure against the OEM datum before declaring in spec. |
| "Section the rocker wherever it's clean." | Section only at the OEM-specified location. |
| "3-point anchor is enough for a small pull." | 4-point minimum. 3 points lets the vehicle twist. |
| "MIG-plug-weld the DP rail. It's fine." | STRSW or silicon bronze MIG braze per OEM procedure. |
| "Skip the adhesive, just MIG it." | If OEM specifies weld-bonding, adhesive plus weld through within open time. |
| "Pull straight back with one tower." | Use opposing pulls with proper vectors. |
| "Pull harder and skip stress relief." | Tap during the pull. Without stress relief, metal springs back. |
| "Correct upper body damage first." | Lower body first. Upper often resolves automatically. |
A 30-Day Focus Plan for These 5 Topics
If you're 30 days from your ASE B4 sitting and you want to focus specifically on the five most-missed topics:
Days 1-3: Diagnostic. Take a full 65-question ASE B4 simulator. Identify which of the 5 topics are your weakest.
Days 4-9: Drill boron steel and UHSS rules. 30-question category drills daily. Memorize heat thresholds and joining methods.
Days 10-15: Drill 3D measurement. Build flashcards on reference planes and correction sequences. Practice reading measurement scenarios.
Days 16-20: Drill sectioning locations. Memorize OEM-restricted areas for high-volume vehicles.
Days 21-25: Drill anchoring and pulling. Memorize the 4-point minimum, opposing pulls, same-level vector, stress relief during rules.
Days 26-28: Drill weld-bonding. Memorize the sequence and the application timing.
Days 29-30: Two full simulated exams. Review every miss across all 5 topics.
The five topics above account for the majority of ASE B4 failures. Pour your study time here and the rest of the test will fall into place.
Where to Start This Week
Take a free ASE B4 practice test on the simulator. Look at your category-level breakdown. If any of the 5 topics above show as a weak category, that's your priority for the next 30 days.
The structural specialty is one of the highest-paying roles in the collision trade. The ASE B4 is the credential that puts you in it.
Sample Worked Question for Each of the 5 Topics
To make the 5 most-missed topics concrete, here's one representative ASE B4 question per topic with worked-out reasoning.
Topic 1 (Boron and UHSS):
A B-pillar reinforcement on a 2022 vehicle is bent. The OEM documentation identifies it as press-hardened steel (boron). The tech should:
Topic 2 (3D measurement):
Measurements on a frontal collision show the left front rail is 8 mm short and 6 mm low. The right rail measures within OEM spec. The damage is best classified as:
Topic 3 (Sectioning):
A vehicle's quarter panel is damaged. The OEM publishes one approved sectioning location on the sail panel. The tech should:
Topic 4 (Anchoring and pulling):
A vehicle with damaged front rails requires a structural pull. The tech sets up the bench with anchoring at the rear sill points only and a single pull tower at the front. The setup is:
Topic 5 (Weld-bonding):
An OEM procedure specifies weld-bonding for a rocker panel reinforcement joint. The tech applies the adhesive, lets it cure overnight, and then places STRSW the next day. The procedure is:
A Personal Note on the ASE B4
I've watched dozens of students at Sheridan Technical sit for the ASE B4. The pattern is consistent: students who memorize boron heat thresholds, 4-point anchoring, OEM sectioning locations, and weld-bonding sequences pass. Students who don't, fail.
The five topics in this article aren't a comprehensive ASE B4 study guide. They're the failure points specifically. Master these five and you're not guaranteed a pass, but you've solved the dominant pattern of failure.
The ASE B4 rewards procedural knowledge over shop instinct. Whatever you knew before you started studying matters less than how rigorously you've memorized the OEM-procedure standards on these five topics. Drill them, run the simulator's ASE B4 category breakdowns, and check back after each practice run to see which topic still needs attention.
The structural specialist credential is earned through this kind of focused study. There's no shortcut, but there is a clear path.
Choose Your ASE B4 Access
One-time payment. No subscriptions and no recurring fees, ever.
- Prometric-style exam simulator
- 1000+ practice questions
- Digital flashcards
- Weakness drills
- Web or mobile access
- Everything in Simulator Access
- Full ASE Academy lesson course
- Step-by-step guided study path
- Hands-on labs and key-term training
The Simulator and the Simulator + ASE Academy bundle are both available now. All sales are final.


Discussion
Join the discussion — sign in to comment.
Comments are reserved for registered students and technicians. Your name will be pulled from your profile automatically.
Log In Register